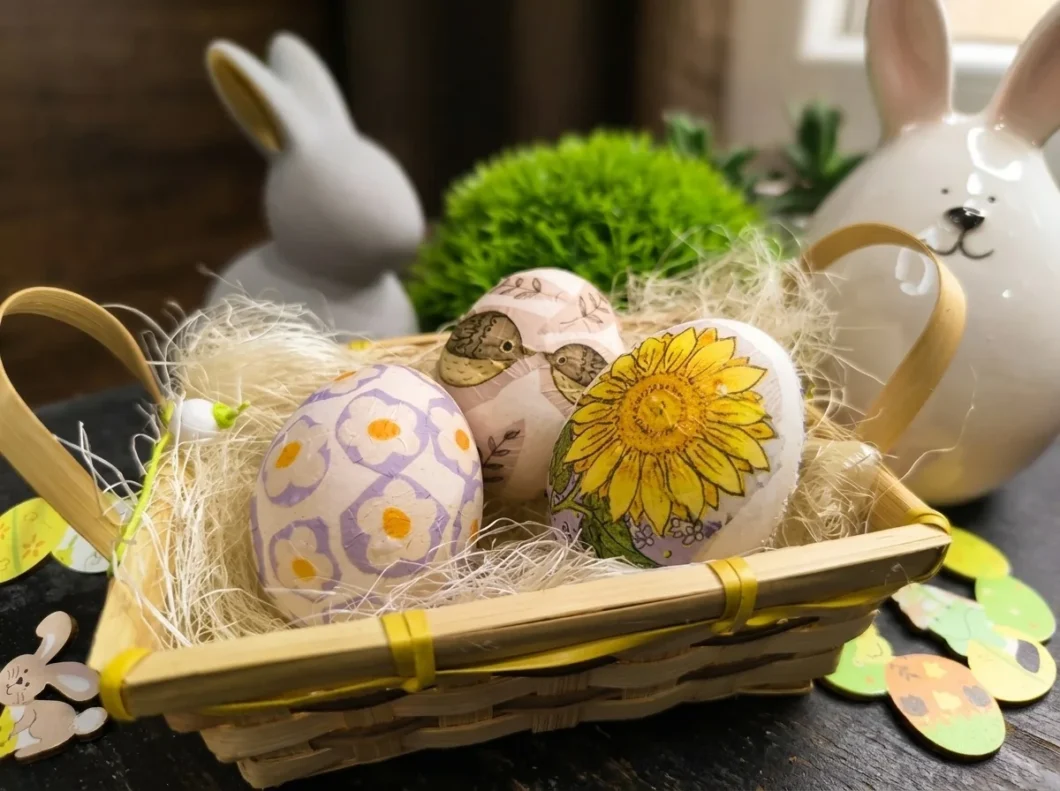


Learn how to bleach brown eggs naturally and, with the help of the decoupage technique, turn them into real little works of art, perfect for the festive holiday table.
5 brown eggs
450 ml water
150 ml spirit vinegar
1 egg white
Napkins with motifs
Sponge
Brush
Preparing to bleach the eggs
1
- Pour 450 ml of water into a pot and add 150 ml of spirit vinegar.
- Carefully lower the brown eggs in with a spoon and cook over medium heat for about 15 minutes.
- Thanks to the vinegar, the Easter eggs gradually bleach during cooking.
- Remove the foam that forms on top with a spoon.

Cooling and cleaning the eggs
2
- After cooking, leave the eggs to cool for 15 minutes.
- Then gently remove the remaining color with the rough side of a sponge.
- Eggs prepared this way will be ideal for decorating.

Washing and drying the eggs
3
- Wash the eggs in cold water to clean them further, then dry them well with a paper towel.
- A dry surface is key to successfully decorating Easter eggs.

Preparing the napkins and gluing
4
- Cut out the desired motifs from the napkins and separate only the thinnest printed layer.
- Use egg white as a natural glue.
- Apply it to the egg with a brush, then stick on the motif and brush over it again with egg white.

Final look and inspiration
5
- Decorating Easter eggs with this decoupage technique gives the impression that the motifs are painted.
- You can use napkins from bookstores with different designs, for perfectly styled eggs.
HAPPY EASTER! CHRIST IS RISEN!

You can see the full description and preparation in the video:

Ingredients
5 brown eggs
450 ml water
150 ml spirit vinegar
1 egg white
Napkins with motifs
Sponge
Brush